Luxx Chair Operations & Maintenance
Note:
Please refer to the written installation and maintenance instructions prior to replacing damaged components. The videos provided here are supplements to that material.
If assistance is needed please contact our Support Team at 888-GO-IRWIN (464-7946).
Rail Installation
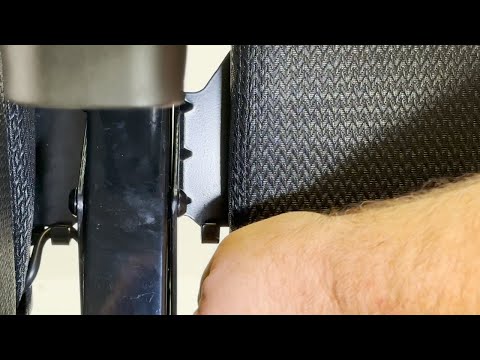
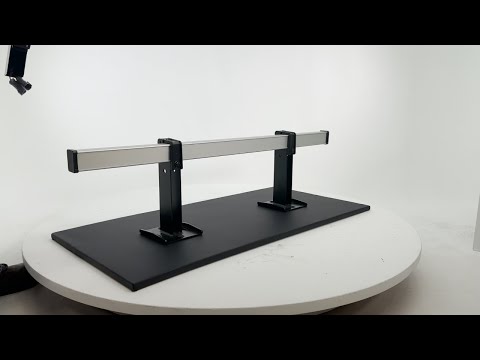
To install the aluminum attachment rail loosen the 13mm bolt enough to disengage it from the clamp, taking care to not remove it completely. Once the clamp can be rotated upward place the rail into the proper position and lower the hinged clamps. Lift the bolt upward and tighten.
Stem (arm) Installation
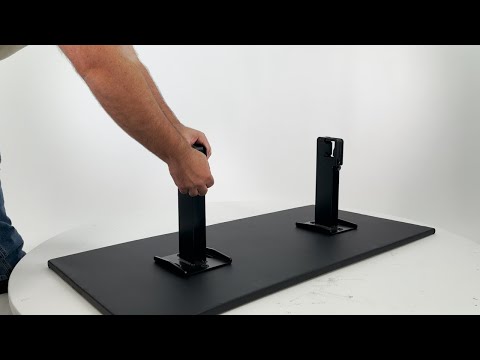
Step 1: To install the chair "stem" (arm assembly) measure and mark to the proper spacing as indicated on the approved layout drawings.
Step 2: Once all locations are marked, install the chair stems on the rail and tighten with a 13mm socket.
NOTE: It may be necessary to loosen the bolt to place it onto the rail, take care to not remove the bolt completely.
Seat Installation
NOTE: To install the seat component the back must be removed first.
Step 1: Remove the cover caps using a 5mm hex drive or allen wrench.
Step 2: Place the seat arms into the lower section of pivot.
Step 3: Secure the cover caps.
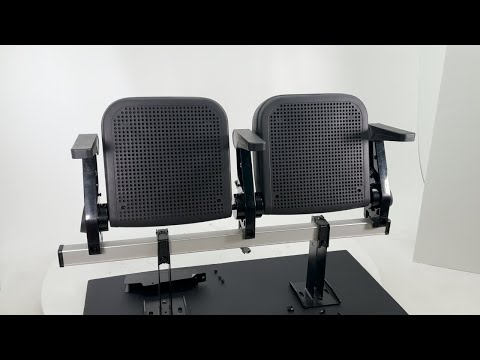
Back Installation
Step 1: Place the back on the seat, upholstery-to-upholstery. Take care to not snag the seat fabric with the back wings.
Step 2: If the back wings do not line up with the lower bolts loosen the steel wings using a torque wrench fitted with a 5mm Hex Socket or Allen wrench. Slide the wings in / out so they line up with the lower bolts taking care to make sure they are spaced evenly so the back is centered properly. Tighten the wings to 13 ft/lbs.
Step 3: With the wings resting on the lower bolts, rotate the back upward and line the upper holes in the back wing with the holes in the stems. Thread the pan head screws through the wings into the stems and tighten with the torque wrench to 13 ft/lbs.
Step 4: Tighten the lower bolts to 13 ft/lbs.
NOTE: To avoid stripping bolts, be careful to not over-tighten them. In addition, avoid pinching the wire harness that extends from the bottom of the back.
Luxx Wiring
Step 1: Secure the wiring harness to the loop on the bottom of the back wing.
Step 2: Plug the back wiring into green / orange plug.
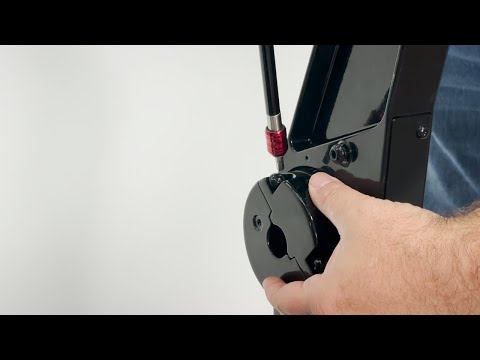
Step 3: Secure the steel shroud to the stem taking care to not pinch the wires.
NOTE: The mover system installed in the back is activated by a limit switch located within the stem assembly. Avoid jamming the wiring up into that area, failure to do so will damage the mechanism and prevent the system from working properly. This is shown at the end of the video below.